



Growing your own herbs indoors is a rewarding and practical way to enhance your cooking, purify your home’s air, and add a touch of greenery to your living space. Whether you have a large kitchen window or just a small countertop, starting a small herb garden indoors is easier than you might think. This guide will walk you through everything you need to know to get started, from choosing the right herbs to caring for them daily.
Why Grow Herbs Indoors?
Indoor herb gardens bring fresh, flavorful ingredients right to your fingertips. Unlike store-bought herbs, homegrown ones tend to be more aromatic and flavorful. Plus, growing herbs indoors means you can have fresh greens year-round, regardless of the weather outside.
Some additional benefits include:
– Convenience: Pick fresh herbs whenever you need without a trip to the store.
– Space-saving: Many herbs grow well in small pots, making them ideal for apartments or homes without outdoor space.
– Air quality: Some herbs can help improve indoor air by filtering toxins and releasing oxygen.
– Cost-effective: Growing your own herbs reduces the need for buying packaged ones.
Choosing the Right Herbs for Indoor Gardening
Not all herbs thrive indoors, so choosing varieties that adapt well to indoor conditions is important. Here are some beginner-friendly herbs that do well inside:
– Basil: Loves bright light and warmth; great for cooking.
– Mint: Very hardy and grows quickly but prefers indirect light.
– Parsley: Needs moderate to bright light and regular watering.
– Chives: Tolerates lower light; useful for garnishing dishes.
– Thyme: Prefers sunny spots and well-drained soil.
– Oregano: Enjoys sunlight and dry conditions.
Start with one or two types and expand as you become more comfortable with indoor gardening.
What You’ll Need to Start
Before planting, gather these essentials:
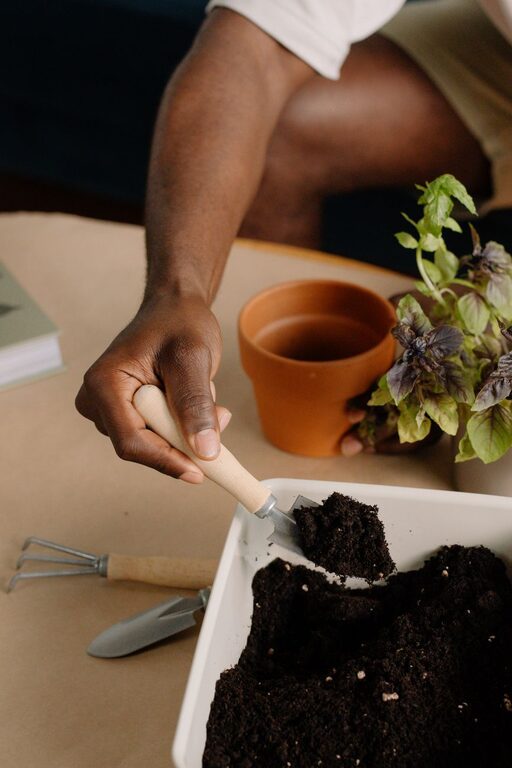
– Containers: Small pots or containers with drainage holes. Terra cotta or plastic pots work well.
– Potting soil: Use a well-draining potting mix designed for indoor plants.
– Herb seeds or seedlings: Choose seeds if you enjoy watching plants grow from scratch, or seedlings for a quicker start.
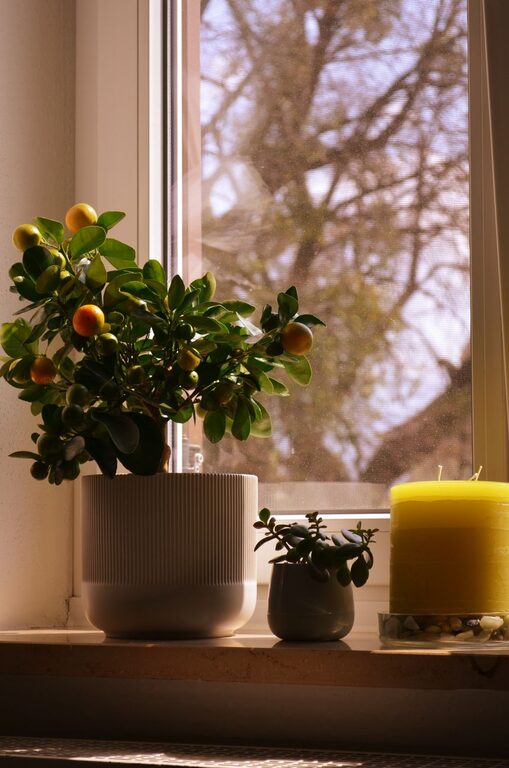
– Light source: A sunny south- or west-facing window is ideal. For low-light spaces, consider a grow light.
– Watering can: A small watering can with a narrow spout helps avoid overwatering.
– Labels: Optional but helpful to keep track of different herb varieties.
Step-by-Step Guide to Starting Your Indoor Herb Garden
1. Select the Perfect Spot
Find a place where your herbs can get 6 to 8 hours of light daily. Windowsills are perfect, but if your home lacks sunlight, using a grow light can provide the necessary energy for healthy growth.
2. Prepare the Containers
Make sure your pots have drainage holes to prevent water from pooling and causing root rot. Fill them with your potting soil, leaving about an inch of space at the top.
3. Plant the Herbs
– Seeds: Follow the depth instructions on the seed packet, usually planting them about twice as deep as the seed’s size.
– Seedlings: Gently remove seedlings from their starter pots and plant them at the same depth in your pots.
Lightly water the soil after planting to settle it around the roots or seeds.
4. Water Correctly
Herbs prefer slightly moist but not soggy soil. Water when the top inch of soil feels dry. Overwatering is a common mistake that can harm your plants, so ensure good drainage and avoid letting pots sit in water.
5. Provide Proper Light and Temperature
Herbs thrive in temperatures between 65°F and 75°F (18°C to 24°C). Place them where they can receive plenty of natural sunlight or use a grow light set on a timer for 12 to 16 hours a day to mimic daylight.
6. Fertilize Occasionally
Indoor herbs benefit from feeding every 4 to 6 weeks with a balanced, water-soluble fertilizer diluted to half strength. This helps keep them lush and healthy.
7. Prune and Harvest Regularly
Pruning encourages healthy growth. Pinch off the tips of your herbs regularly to prevent flowering, which can reduce leaf production. Harvest leaves as needed, but avoid taking more than one-third of the plant at a time.
Troubleshooting Common Issues
– Yellowing leaves: Often a sign of overwatering or poor drainage.
– Leggy plants: Caused by insufficient light; move herbs to a brighter location.
– Pests: Check for small insects like aphids or spider mites and wipe leaves with a damp cloth or spray with mild soapy water.
– Slow growth: May indicate the need for fertilizer or more light.
Additional Tips for Success
– Rotate your pots occasionally to ensure even light exposure.
– Use shallow containers for herbs with shallow roots like chives and parsley.
– Consider grouping herbs with similar watering and light needs together.
– Clean your pots and tools regularly to prevent diseases.
Conclusion
Starting a small indoor herb garden is a fun and practical project that offers fresh, fragrant herbs right in your home. With a bit of planning and care, even beginners can enjoy the satisfaction of growing their own herbs. Whether you’re a seasoned cook or just starting out, having fresh herbs at your fingertips can inspire creativity in the kitchen and brighten your living space.
Give it a try, and watch your indoor herb garden flourish!