








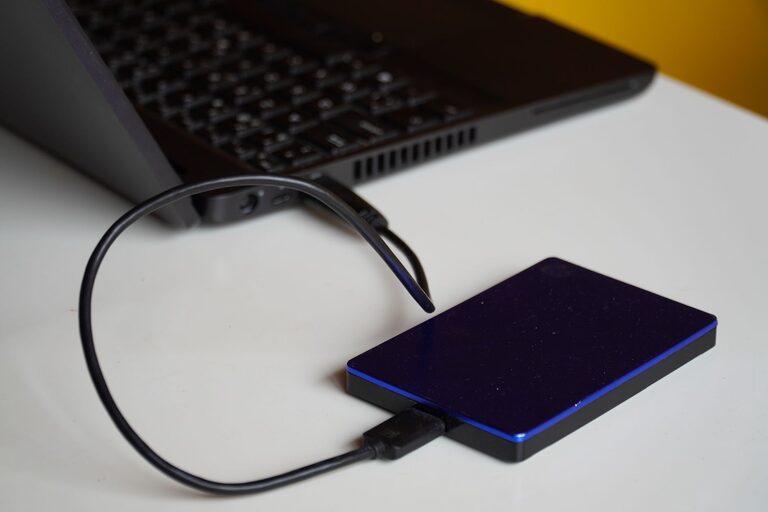
Backing up your photos and files is one of the most important steps you can take to protect your digital memories and important documents. Whether it’s family photos, work projects, or personal files, losing data due to hardware failure, accidental deletion, or other issues can be stressful. Fortunately, creating backups is easier than ever with a variety of tools and methods available. In this guide, we’ll walk you through why backing up is essential and share practical steps to help you keep your data safe.
Why Should You Back Up Your Photos and Files?
Your computer or phone’s storage is not immune to problems. Devices can get lost, damaged, or infected by malware. Additionally, files can accidentally get deleted or corrupted. Backups act as a safety net, ensuring that you always have a copy of your important data.
Key reasons to back up your files include:
– Prevent Data Loss: Protect against hardware failures or accidental deletion.
– Ease of Recovery: Quickly restore your files if something goes wrong.
– Peace of Mind: Reduce worry about losing priceless memories or crucial documents.
Common Backup Methods
There are several ways to back up your photos and files. Each method has its own benefits, so choosing the right one depends on your needs and preferences.
1. External Hard Drives
Using an external hard drive is one of the simplest and most affordable ways to back up data.
– How it works: Connect the drive to your computer via USB and copy your files manually or use backup software.
– Pros: One-time purchase, large storage space, no internet needed.
– Cons: Can be lost or damaged, needs regular updating.
Tips for using external drives:
– Choose a reputable brand with good reviews.
– Use software like File History (Windows) or Time Machine (Mac) to automate backups.
– Store the drive in a safe place when not in use.
2. Cloud Storage Services
Cloud storage allows you to save files on remote servers accessible via the internet.
– Popular services: Google Drive, Dropbox, OneDrive, iCloud.
– Pros: Access files anywhere, automatic syncing, easy to share.
– Cons: Requires internet connection, may have storage limits unless you pay.
How to get started:
– Sign up for a cloud service of your choice.
– Upload important photos and files manually or use synchronization apps.
– Enable automatic backups if available.
3. Network Attached Storage (NAS)
NAS devices are like personal cloud servers in your home or office.
– How it works: Connect a NAS device to your home network. Multiple devices can back up files to it.
– Pros: Large storage, accessible over your network, private.
– Cons: Higher cost and setup complexity.
NAS is useful for tech-savvy users or families needing centralized backups.
Best Practices for Backing Up Your Photos and Files
Following these tips will help you create reliable backups that you can trust.
1. Follow the 3-2-1 Backup Rule
The 3-2-1 strategy is a widely recommended approach:
– Keep 3 copies of your data (original + 2 backups).
– Store backups on 2 different types of media (e.g., external drive and cloud).
– Keep 1 backup offsite (e.g., cloud or remote location).
2. Organize Your Files
Before backing up, organize your photos and files into folders with clear names. This makes it easier to find what you need when restoring.
3. Schedule Regular Backups
Set up a routine backup schedule, such as weekly or monthly. Automation tools can help ensure you don’t forget.
4. Verify Your Backups
Occasionally check your backups by opening files and confirming that backups are up to date.
5. Protect Your Backup Devices
Keep external drives safe from extreme temperatures, moisture, and physical damage. Use passwords or encryption for sensitive files.
How to Back Up Photos and Files: Step-by-Step
Using an External Drive on Windows
- Connect your external hard drive to your PC.
- Open **Settings** > **Update & Security** > **Backup**.
- Click **Add a drive** and select your external drive.
- Turn on **Automatically back up my files**.
- Choose which folders to back up, such as Pictures and Documents.
- Connect an external hard drive.
- Open **System Preferences** > **Time Machine**.
- Click **Select Backup Disk** and choose your drive.
- Turn on **Time Machine** to start automatic backups.
- Sign in to Google Drive on your browser or install the Backup and Sync app.
- Select folders to back up, including photos.
- Files will automatically upload to your Google Drive account.
- Access your files from any device signed in to Google.
Using Time Machine on Mac
Backing Up to Google Drive
Final Thoughts
Backing up your photos and files doesn’t have to be complicated. By choosing one or more backup methods and following simple best practices, you can protect your digital memories and important documents from unexpected loss. Start today by picking a backup solution that fits your lifestyle and make a habit of keeping your data safe.
Remember, losing data is often frustrating and sometimes irreversible—but with backups, you can avoid that stress entirely. Happy backing up!